Projection options for immersive home and event projections in New Zealand
Projection options are more flexible than most people think. You can turn a plain wall into an ocean, make a shop window glow like a theatre set, or create a floating ghostly scene with a sheer net. I want to give you practical steps you can try. Think of this as a friendly how-to from someone who’s done the setup and tested it under real conditions in NZ homes and community spaces. Read on and you’ll feel confident to pick gear, choose placement and match the right projection type to the mood you want to make.
Choosing the right projection type for the space
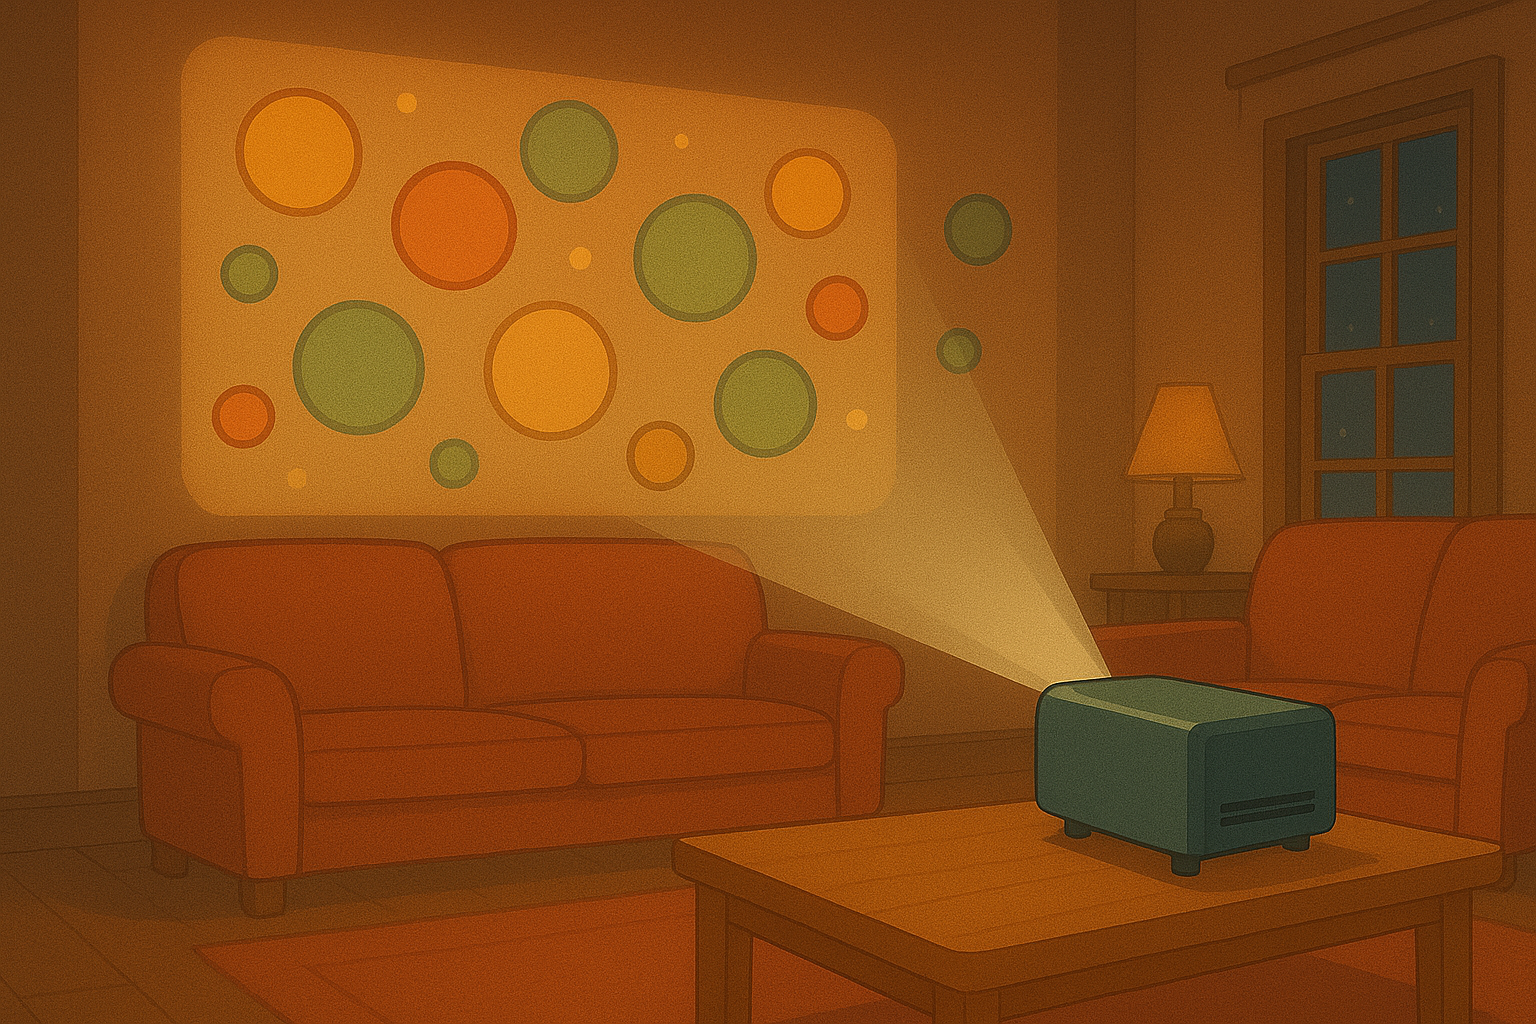
Projection options depend on the canvas you have. If you have a big, light-coloured wall, a standard projector will deliver immersive imagery that fills the room. Projectors work best on matte surfaces. Avoid glossy paint that causes hotspots. If you want something visible from outside, think about window projections. Window setups need either rear-projection film or careful front-projection planning so light doesn’t wash out the image. For delicate, theatrical effects, floating nets or sheer gauze create that mid-air, dreamy look. TV playback is a low-effort, clean option when you want crisp animation without darkening a room.
Projection options for each surface mean different gear choices. For walls, a brighter projector with at least 2,500 lumens is a good start for evening events. For windows, you can either use a short-throw projector inside or apply rear-projection film and place the projector behind the glass. For floating nets, you’ll want a projector that can focus sharply at a shorter throw distance and a darkened backdrop. For TV playback, check HDMI compatibility or use our app on a streaming stick. These choices are simple to test: try handheld setups before committing to mounts or permanent fixtures.
Projection options also tie to audience distance and viewing angle. If people stand close, avoid huge contrast changes and keep motion slow. If viewers sit further away, you can use more detailed animation. Consider the room layout: lights, furniture and reflective objects affect image clarity. Try different projector heights and tilts. Small adjustments can sharpen the image and reduce keystoning. In short, match the projection type to your canvas, your gear and the way people will move around the space.
Practical tips for wall and window projections
Projection options for walls are often the easiest to get right. Start with a clean, pale wall. Remove busy posters and keep the surface uncluttered. Measure the wall and pick a projector throw distance that fills the area without cutting off important parts of the image. Mounting a projector high and centering it helps with symmetry. Use a tripod for testing and lock in the sweet spot. Keep ambient light low. A single lamp behind the audience can keep the floor safe without washing out the projection.
Projection options for windows require slightly different thinking. For daytime visibility from outside, you’ll need rear projection film so the image faces outward and isn’t overpowered by sunlight. For night displays, front projection works well if you control interior lighting and avoid reflections. Make the glass clean and cut out any blinds that interrupt the image. If you want to create an Advent-window vibe, choose slow, warm animations. They read well through glass and feel cosy to passersby. Consider using a weatherproof housing for external projectors if you plan longer displays.
Projection options also call for timing and content choices. For shopfronts, schedule looping animations that change mood hourly. For festivals, coordinate sequences with music or live announcements. Test from the viewer’s perspective: walk past at different speeds and check readability. Short tests help you refine brightness, contrast and color balance. Keep a small kit with spare cables, an adapter, and a cloth. A quick wipe of the lens or a cable swap can save a setup in seconds.
Creating magical floating effects with nets and gauze
Projection options on floating nets feel magical because the image hovers in space. Use thin, nearly invisible gauze or netting stretched across a frame. The fabric must be taut to avoid ripples that blur the picture. Position the projector so the image strikes the net at a slight angle; this reduces hotspotting and gives the image a more ethereal quality. Darken the background behind the net to make the projection pop. A black drape or wall works wonders.
Projection options for floating setups work best with slow-moving, high-contrast visuals. Soft glows, drifting particles and silhouette animations read beautifully. Avoid busy, tiny details that disappear on the mesh. Keep motion gentle to preserve the illusion of floating. If people will pass between viewers and the net, raise the installation slightly so it sits above head height and does not obstruct traffic. Secure the net properly with discreet clips or a slim frame to prevent sagging during long shows.
Projection options also include sound design for these setups. Add subtle ambient audio from hidden speakers to reinforce the mood. Use battery-powered Bluetooth speakers for temporary setups and small amps for longer runs. Test audio from multiple points in the room. A well-balanced sound bed can transform a floating projection from pretty to immersive. In short, plan the fabric, projector angle and audio, and you’ll get a result that feels like real magic.
Using TVs and streaming devices for crisp animation
Projection options aren’t limited to projectors. TVs give you crisp, vivid playback with minimal fuss. Use a modern TV, plug in an HDMI source or a streaming stick. Our animations work smoothly over common apps or via a direct media player. TVs are perfect for close-up viewing, small gatherings and retail displays where you want clarity and color accuracy. They also remove the need to darken a room, which makes them a great choice for cafés and lounges.
Projection options for TV setups include looping playlists and scheduled content. Use a simple media player or schedule via a smart display. Place the TV at eye level for seated viewers and mount it securely. Check audio: many TVs have fine sound, but an external speaker will improve presence. If you plan to switch between projection and TV often, keep cables and adapters labeled. That saves time when swapping devices between events.
Projection options in mixed setups can combine TV and projection for layered effects. Use the TV for detailed information and the projector for ambiance. This approach is great for pop-ups and small exhibitions. Keep content synced by testing start times and loop lengths. With a little practice you’ll blend crisp TV detail and soft projection atmosphere into a cohesive show.
Gear checklist, simple setups and quick troubleshooting
Projection options are easier with a compact checklist. Bring a projector or TV, spare cables, a power strip and a tripod or mount. Pack any adapters you might need, a lens cloth and a remote. Include extension cords and gaffer tape for tidy cable runs. A small flashlight helps with late-night adjustments. For window setups, keep a roll of rear-projection film handy. For floating nets, bring clamps and a lightweight frame.
Projection options can run into minor issues. If the image is keystoned, adjust the projector height or use keystone correction. If colors look washed out, turn off nearby lights and choose a brighter projector. If the image blurs, check focus and the distance to the surface. If content won’t play, try an alternate HDMI cable or stream from a phone as a quick test. Most hiccups are solved in a few minutes with these steps.
Projection options become your go-to once you practice a few times. Start with small tests: a short loop on a wall or a single window projection. Note what works and refine. Share results with friends or customers and gather feedback. In New Zealand, people love cozy, community-focused displays, so keep things inviting and simple. With the right gear and a bit of testing, you’ll be turning everyday spaces into memorable scenes in no time.
Popular projections