Christmas projection — How Projections Make Christmas Shine
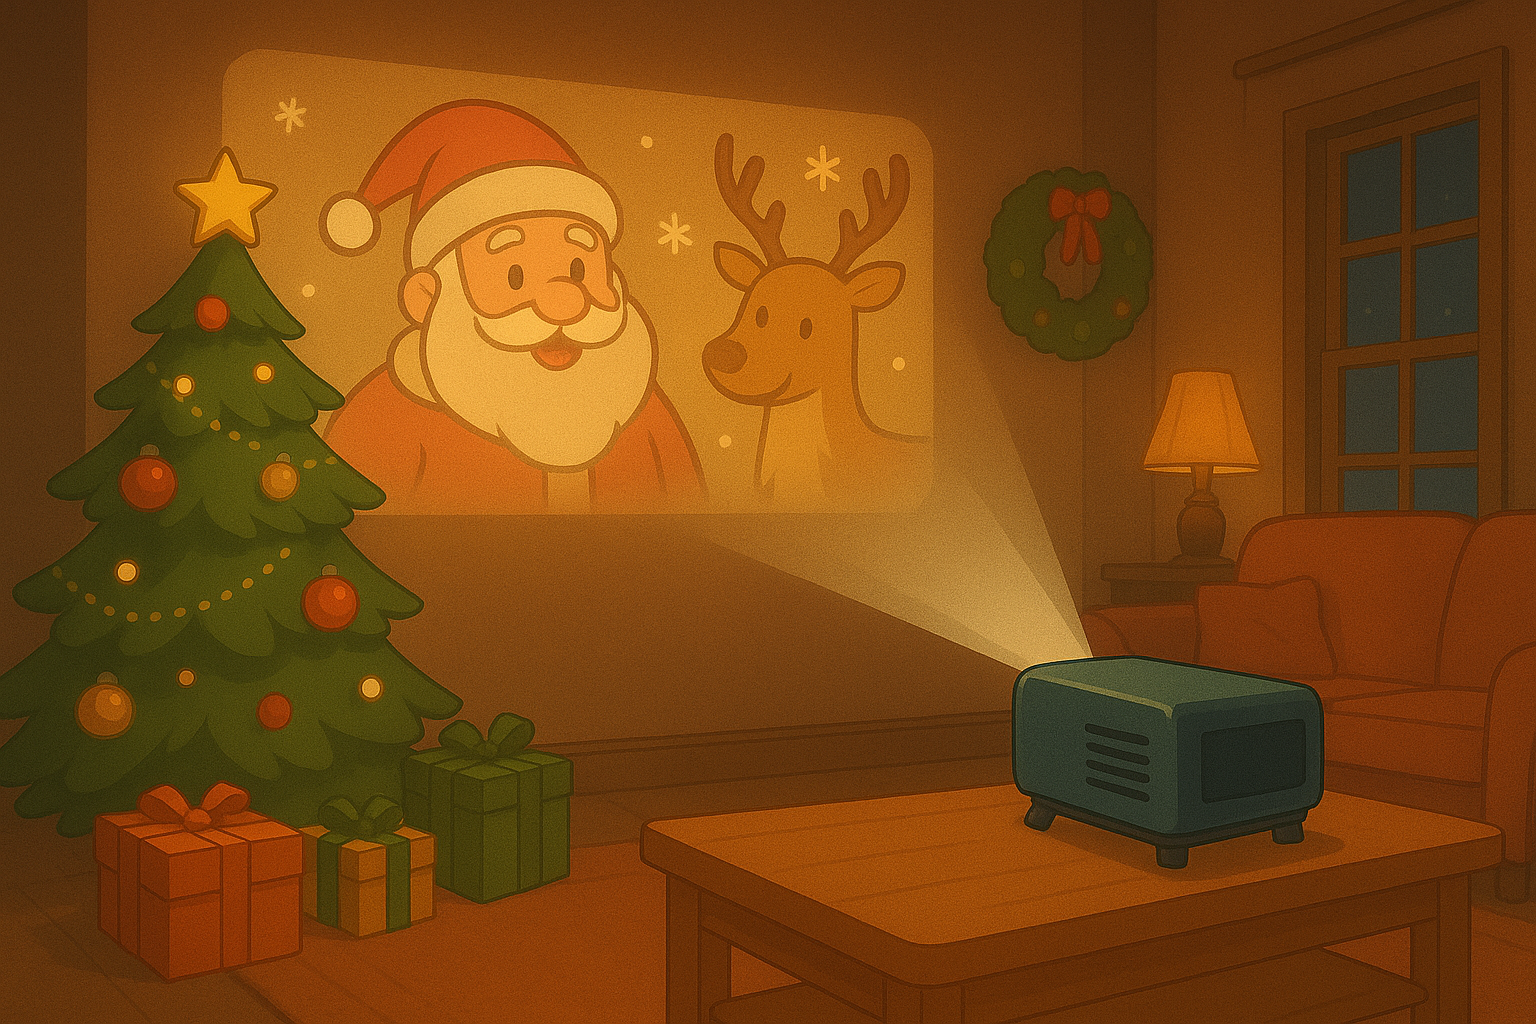
Christmas projection is one of the easiest ways to add instant wonder to a home or street. You do not need a stage or big budget. A compact projector, a simple image or animation and the right surface are all it takes. The feeling is immediate. You open the door and see colour and motion where there used to be plain paint or glass. In a few minutes you can transform a living room wall into a falling-snow scene or splash warm candlelight across a window. That quick change is what draws people in. It invites lingering, conversation and photos. It is a small trick with a big emotional payoff, and that makes it perfect for families and neighbourhood gatherings in New Zealand.
What light projections are and why they work
Christmas projection turns light into a storyteller. Instead of bulbs that just glow, you get shapes, movement and atmosphere. Light projections use a projector to cast images or animation onto surfaces. The images can be static like a frosty window pattern, or moving like drifting snow or dancing reindeers. The result is a layered scene. Shadows and highlights mix with the room's own light. That mix tricks your eye in a friendly way. It creates depth and motion from something flat.
Christmas projection appeals because it taps into simple senses. Humans respond to movement and contrast. A soft sweep of light feels alive. A warm hue feels cozy. The mind ties a short visual cue to a memory or mood. A projected hearth, for instance, can make a small room feel snug. A projected starfield can make a backyard feel huge. Because the images sit on the surface, they look natural. They do not fight the space; they enhance it. And that is why projections are emotional tools as much as they are decorative ones.
How projections work in practice
Christmas projection uses a few basic parts that are easy to learn. You need a projector, a source file and a surface. The projector shines an image. The source may be a video, an animated loop or a still. The surface catches the image. The cleaner the surface, the sharper the result. Brightness matters most. A projector is rated in lumens. More lumens give clearer images in daylight or bright rooms. For cozy indoor scenes you can use less brightness and still get great atmosphere.
Christmas projection also benefits from simple placement rules. Keep the projector perpendicular to the surface when you can. Avoid direct sunlight on the image. Use darker backgrounds for more contrast. For windows, project from inside at night for viewers outside, or from outside for viewers inside. Small changes in angle and distance change the image size and sharpness, so experiment. Use test patterns and stills first. Once the image sits right, add motion. Subtle motion sells the scene. Gentle drifting or slow zooms feel natural. Fast motion can feel flashy, so match movement to mood.
The storytelling power of moving light
Christmas projection helps tell short, clear stories. A few visual beats are enough: a snowfall begins, a child’s silhouette appears, a warm glow expands from a window. Because projections are dynamic, they can shift emotion in seconds. Light can start cool and quiet and then warm up as a scene becomes intimate. This pacing mimics classic storytelling. It gives you control over what people notice first and what they remember last.
Christmas projection also plays well with sound. A soft carol, a crackle of fire or a distant jingle can lift a scene. Sound gives context and makes the visuals feel cinematic. But even silent projections have strength. People fill in the audio with their own memories. A floating snowflake can remind someone of a childhood evening, and that personal association becomes your scene’s soundtrack. In short, moving light is efficient and evocative. It invites imagination without asking for an explanation.
How to stage magical living room and window scenes
Christmas projection is brilliant for living rooms and windows because those spots are natural gathering areas. For a living room, pick a main wall free of busy patterns. Darker paints give more contrast. Place the projector on a shelf, table or tripod at a distance that fills the wall without losing sharpness. Use soft animations like falling snow, gently pulsing stars or slow auroras. Keep motion slow and colors warm for a cozy feel. Add candles or string lights at low intensity so they complement, not overpower, the projection.
Christmas projection on windows can work two ways. Project from inside so people outside see the story. This works great for front rooms that face the street. Use bold silhouettes and high-contrast shapes so viewers across the fence read the scene easily. Alternatively, project from outside into your window so those inside enjoy a subtle view. For windows, try layered scenes: a frosty edge with a warm interior glow. That contrast between cool outside and warm inside is a classic holiday mood. Photographing these scenes is easy. Shoot from an angle that captures both the projection and the environment. That produces shareable images that look cinematic on social media.
Practical gear and simple setup tips for New Zealand homes
Christmas projection can be surprisingly affordable. You do not need cinema gear. A portable LED projector in the 1,000 to 3,000 lumen range covers most indoor needs. For brighter windows or light outdoor scenes, bump up to 3,000–5,000 lumens. Choose projectors with HDMI and USB input for easy playback. Small media players or a laptop can feed loops. For outdoor use, protect your gear from dew and wind. Mount projectors under eaves or use weatherproof housings. Cables should be neat and safe, especially if kids or pets are around.
Christmas projection setup is mostly common sense. Test the scene at the time you plan to host. Nighttime tests show how bright you must go. Use simple stands or tripods to angle the beam. Consider short-throw projectors if space is tight. For creative touches, add simple gobos or cutouts near the projector to cast foreground shadows. That adds depth and a handmade charm to the scene. Finally, keep a small toolkit: tape, clamps and an extension cord. Those items solve most last-minute issues.
Ideas, events and a friendly send-off
Christmas projection opens doorways to many low-effort events. You can throw a small family evening where the living room wall becomes a changing backdrop. You can host a window-watching moment for neighbours as they walk past. You can project a countdown to Christmas on a garage door for a community cheer. Use simple themes: a snowy night, vintage baubles, a slowly turning wreath. Mix in local touches like native NZ flora silhouettes for a homegrown feel. These ideas are easy to scale up or down depending on time and budget.
Christmas projection rewards play. Try tweaks and save versions that work. Share what you create with friends and encourage them to try it too. The results are social, memorable and easy to update year to year. If you want a starting kit, look for projectors with user reviews that mention indoor holiday use. Above all, aim for moments that feel warm and welcoming. A well-timed sweep of light can turn an ordinary night into a memory. That is the real gift of projection work.
Popular projections